Help Center
Step-by-step guides for creating product photos, ads, and videos
Photo Studio
Learn how to create Main, Spotlight, Lifestyle, and Branding images.
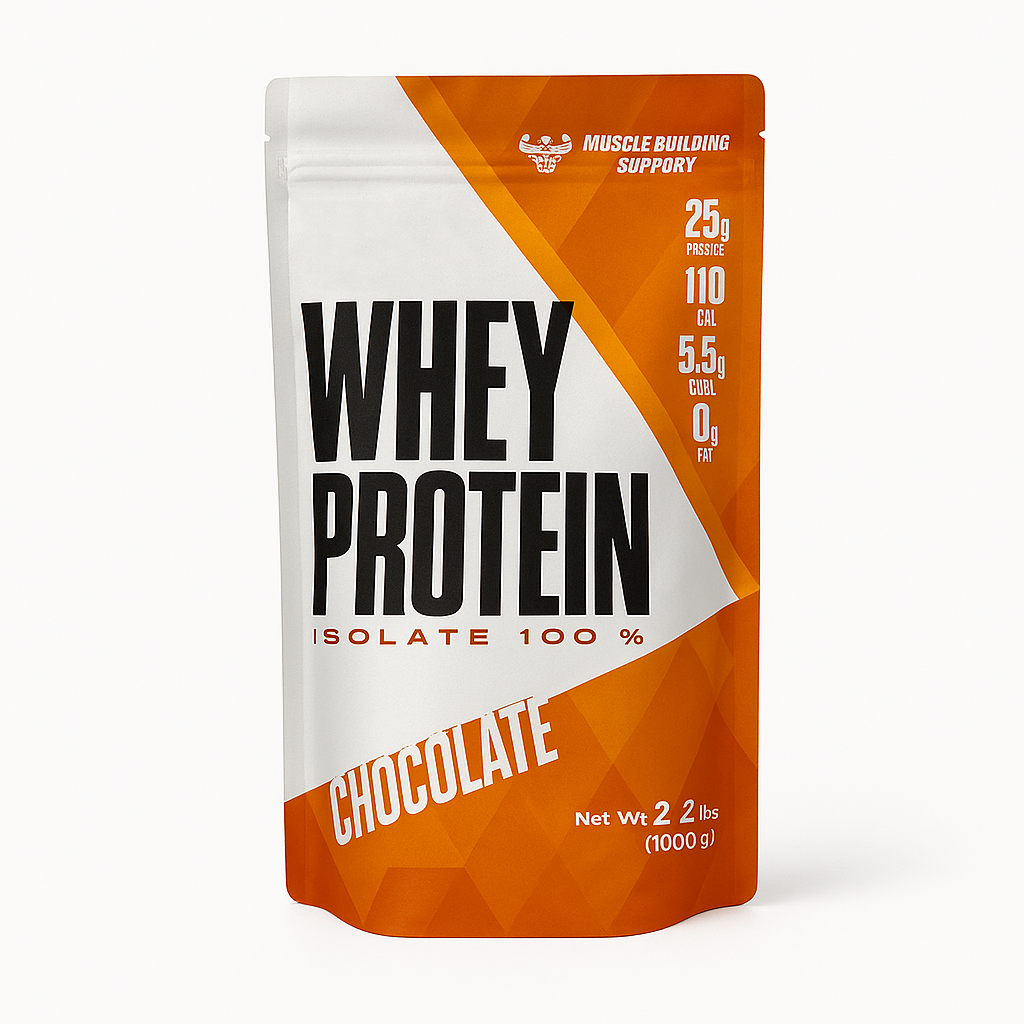
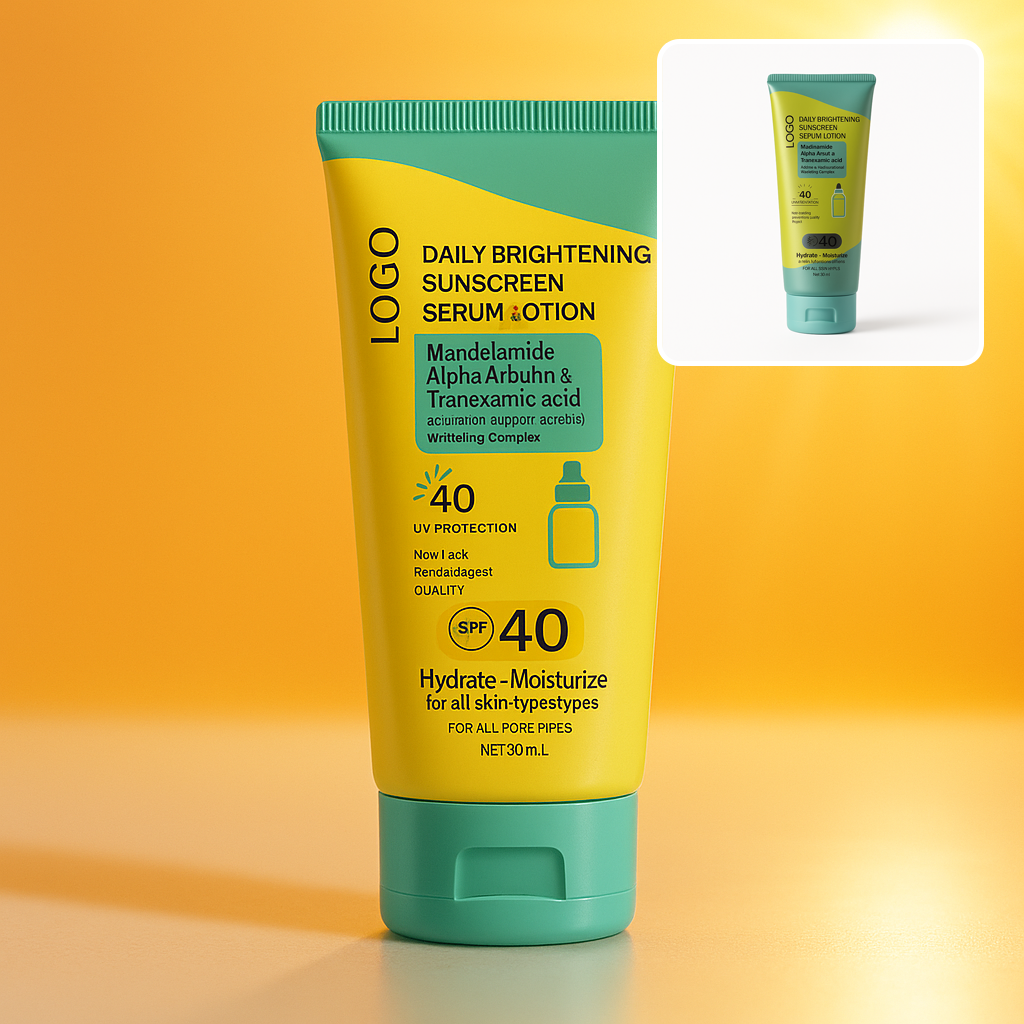
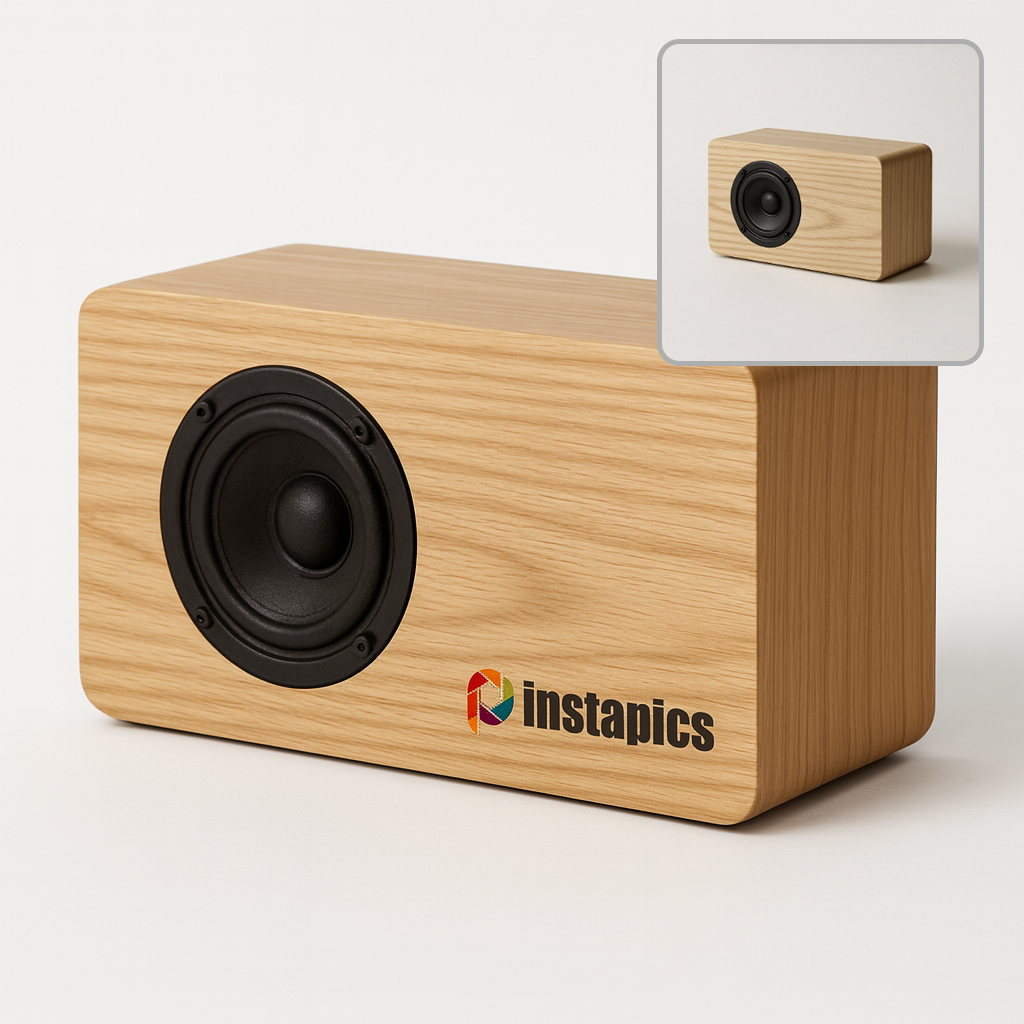
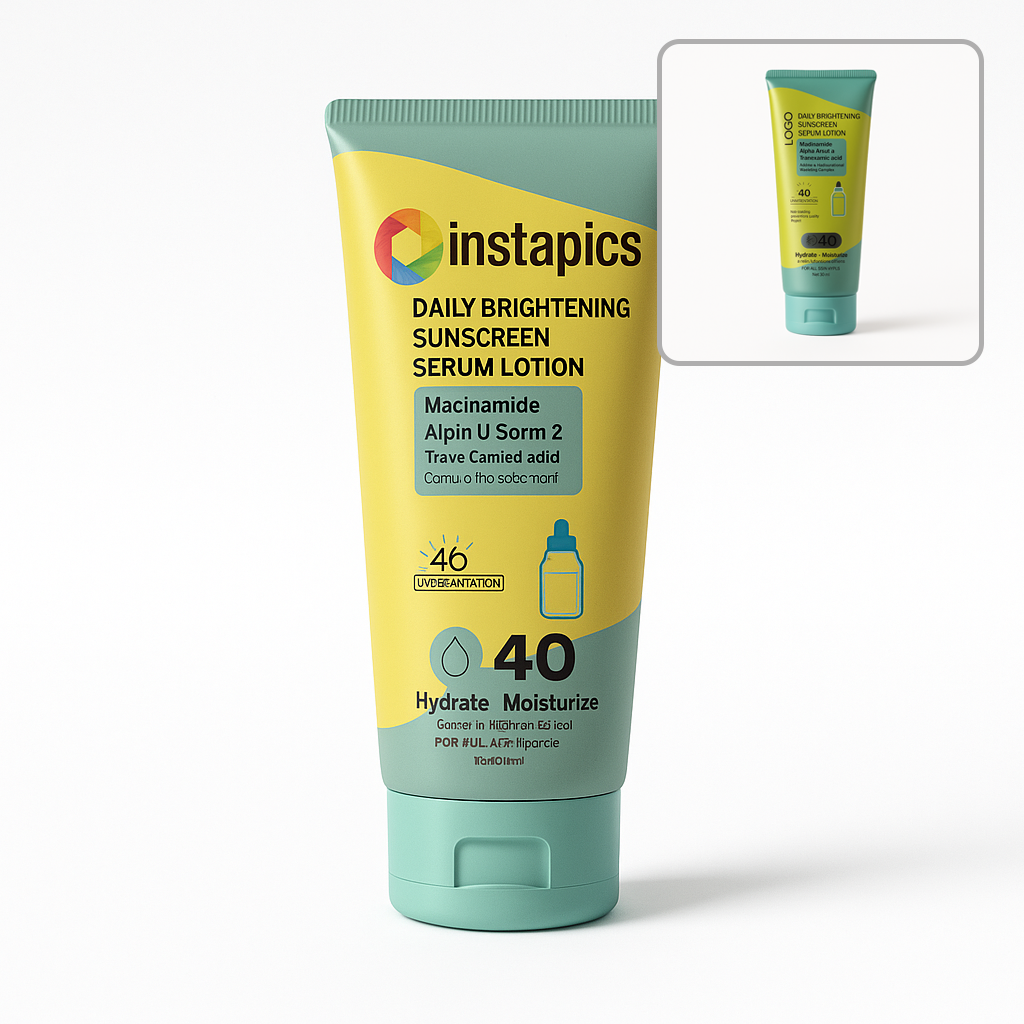
Creating Main Images
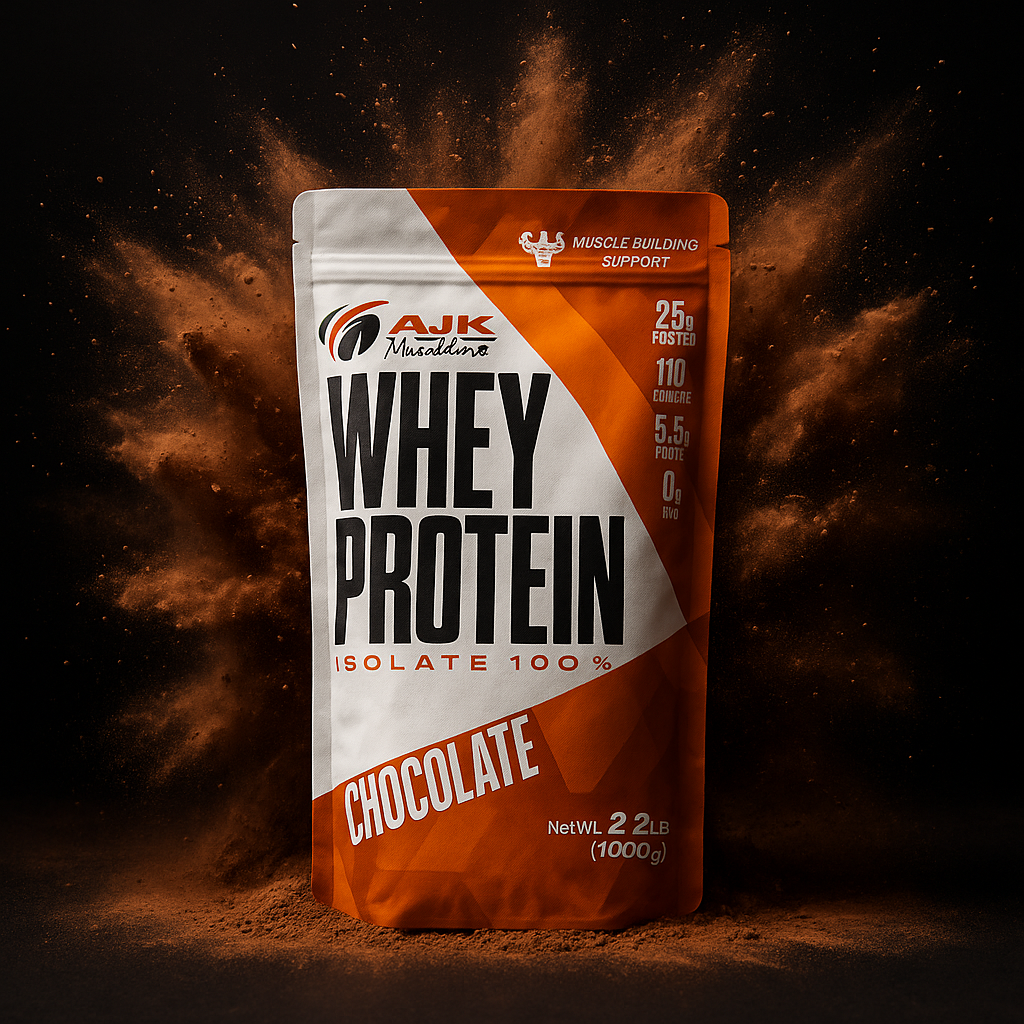
Main images are clean, high-contrast product photos designed for Amazon and e-commerce listings. They focus on clarity, accuracy, and visual consistency across your catalog.
Upload Your Product Image
Upload a clean product photo. The product will be automatically cut out and the background removed. For the best results, the photo should only contain your product with no clutter.
Select “Main”
Choose the Main option in the Photo Type options panel.
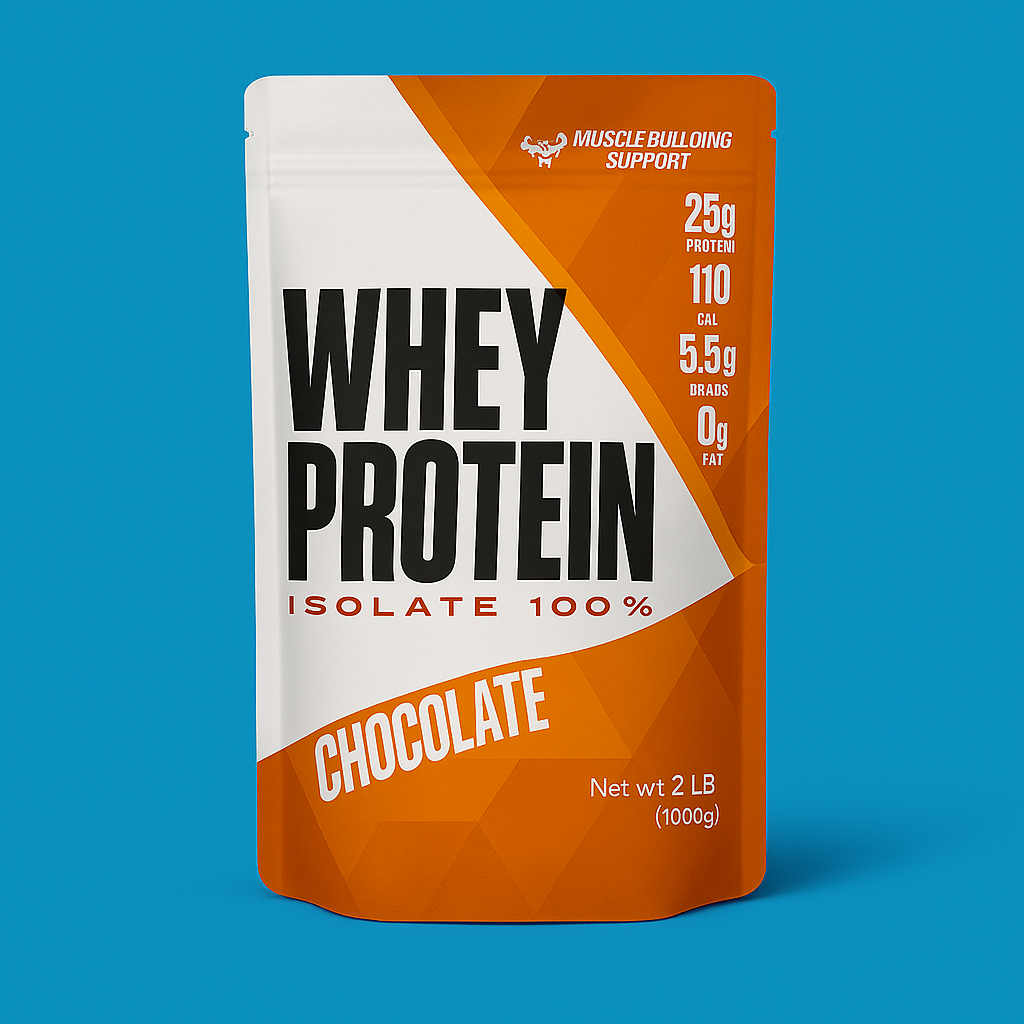
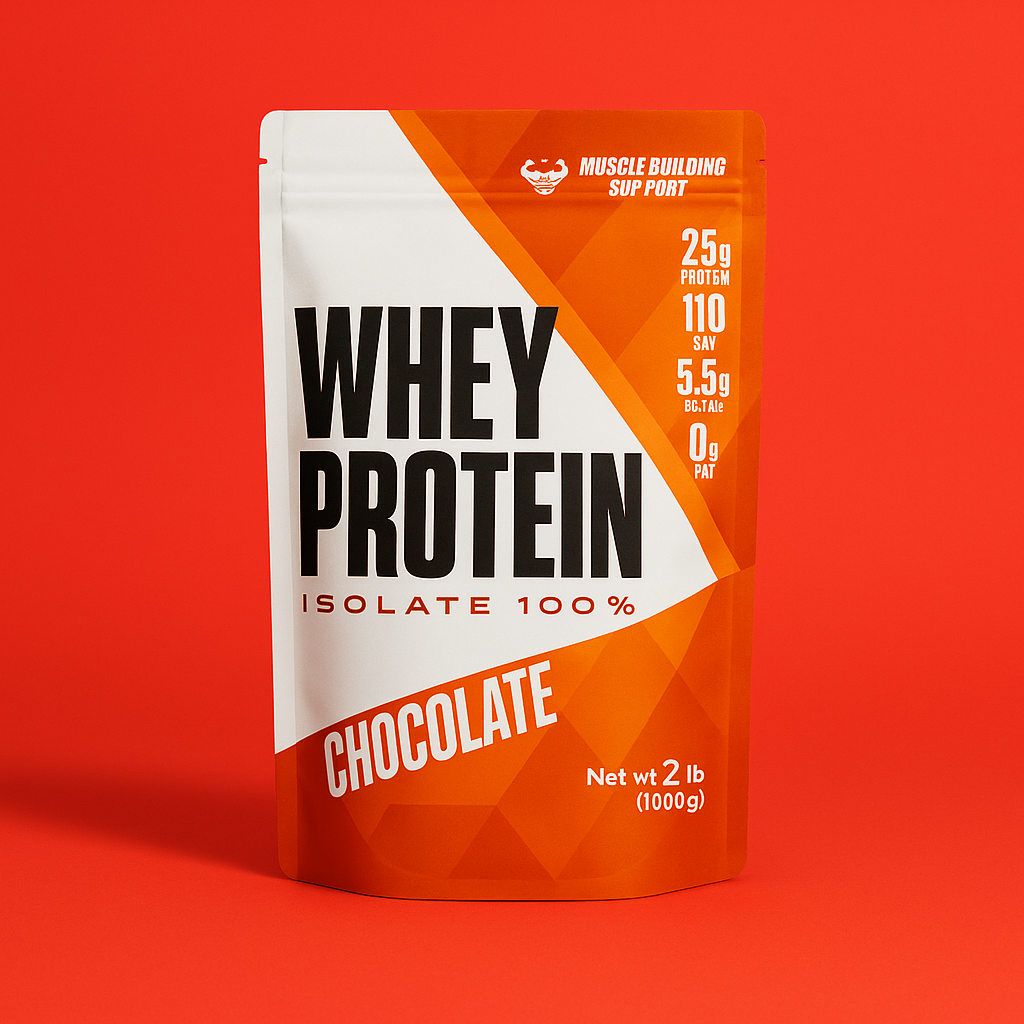
Choose a Background Color
Use the preset palette or select a custom color for precise brand matching.
Select Your Aspect Ratio
Select the aspect ratio that best fits Amazon, Shopify, or platform-specific requirements.
Generate Your Photo
Click Generate Photo to produce your final Main image.

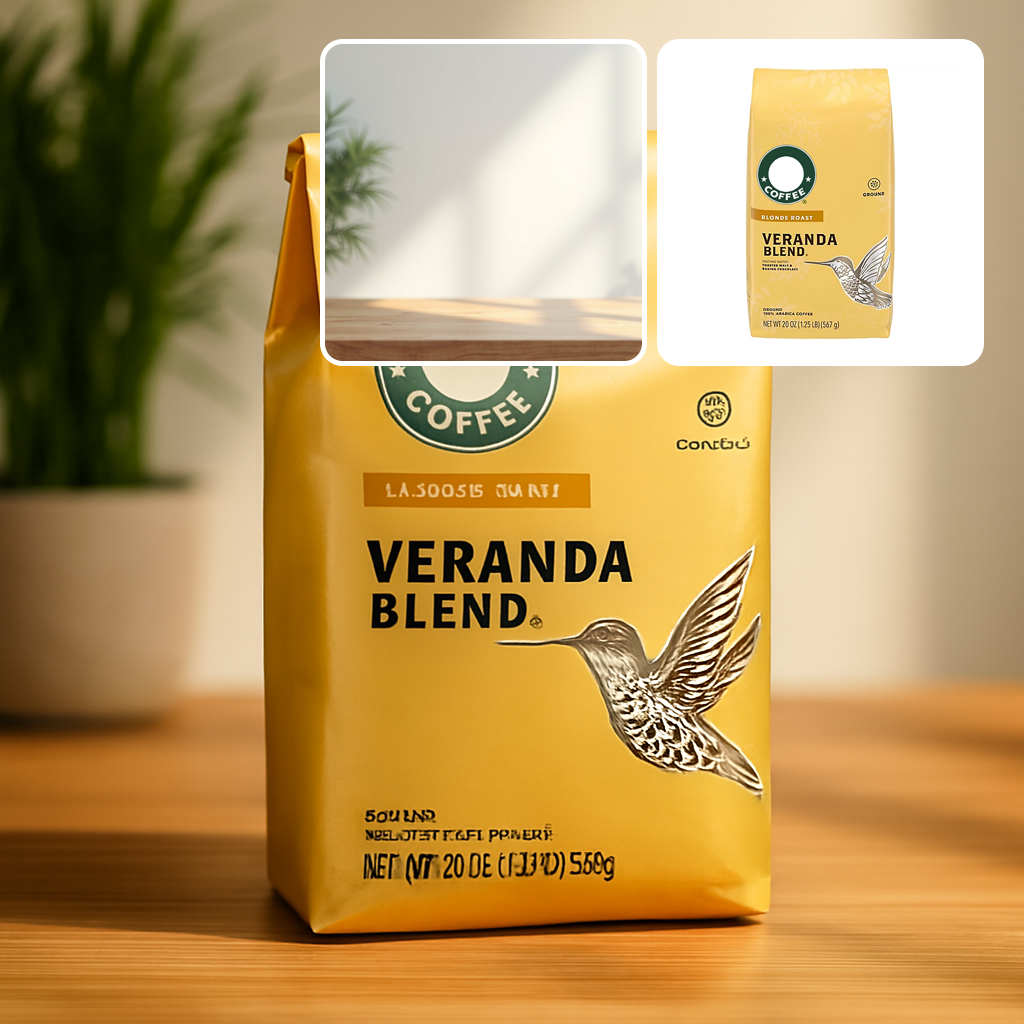
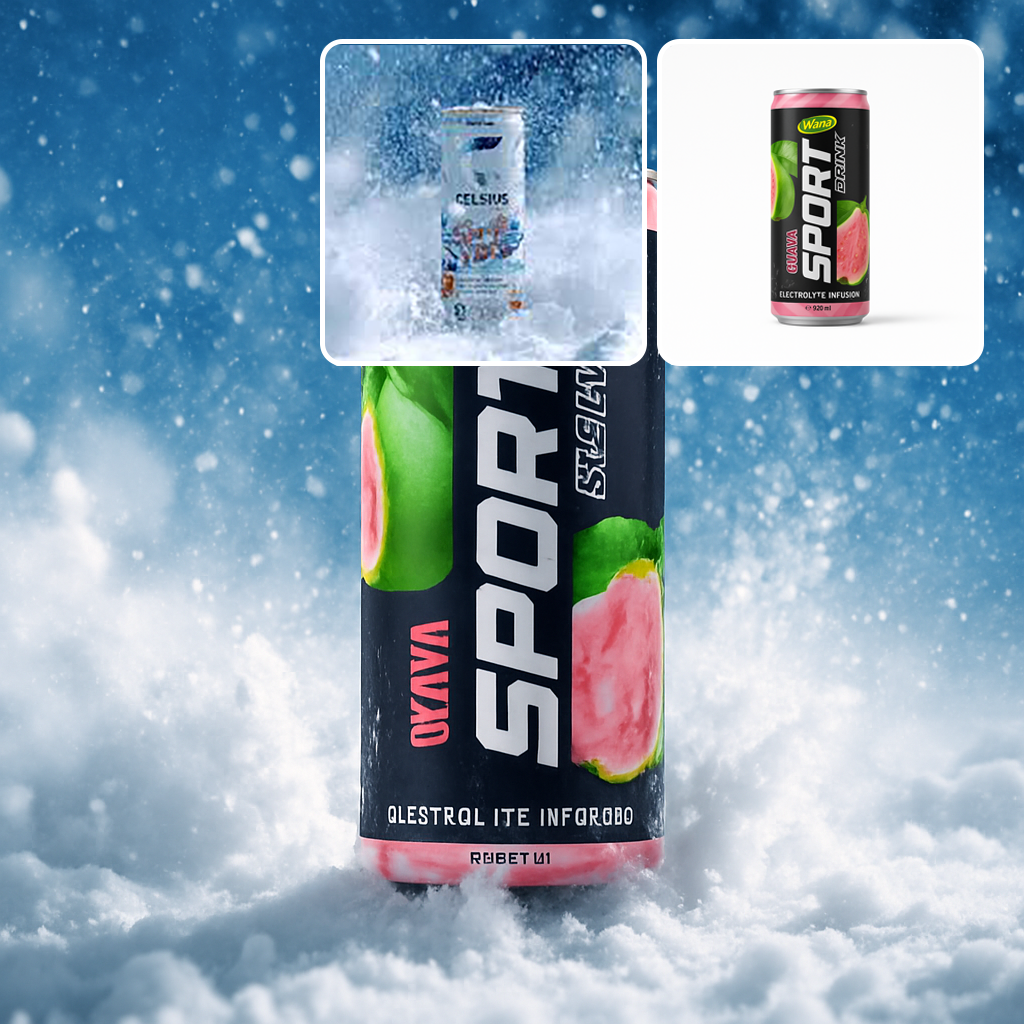
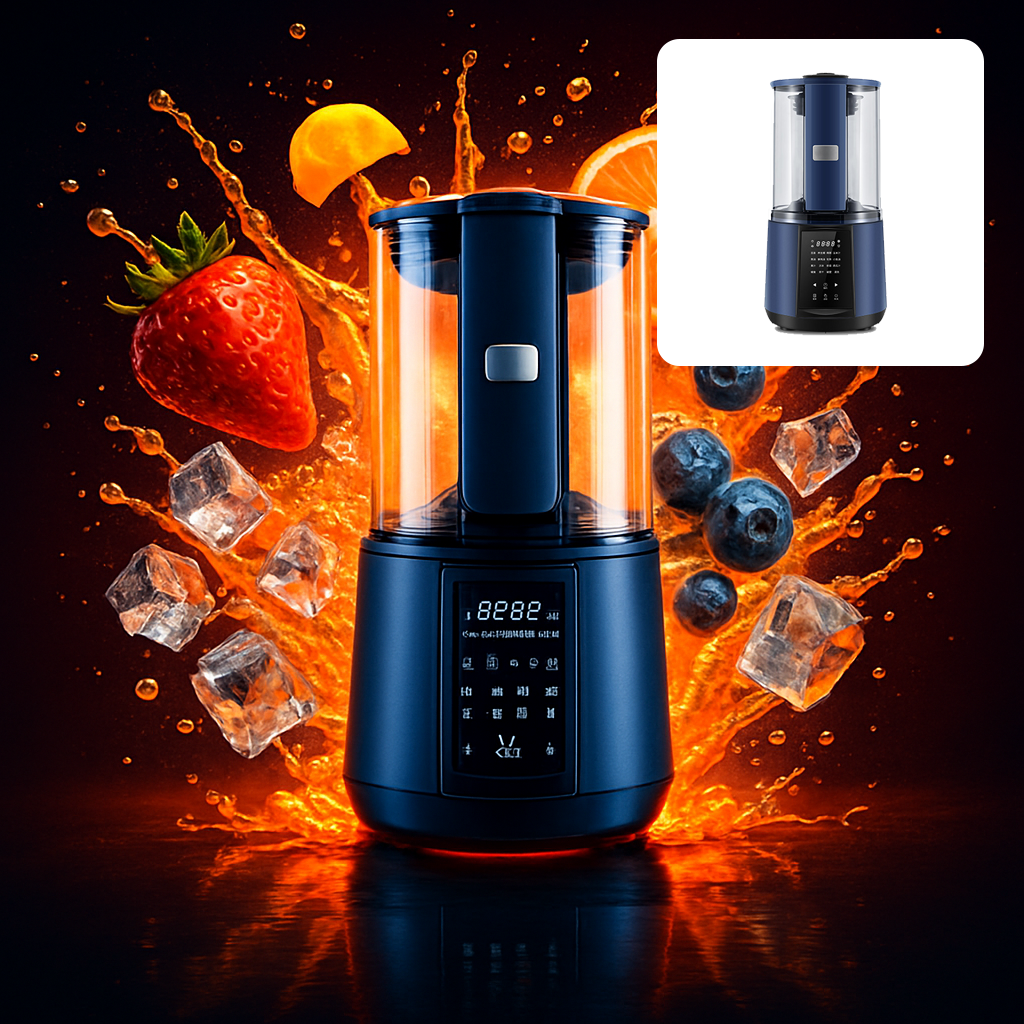
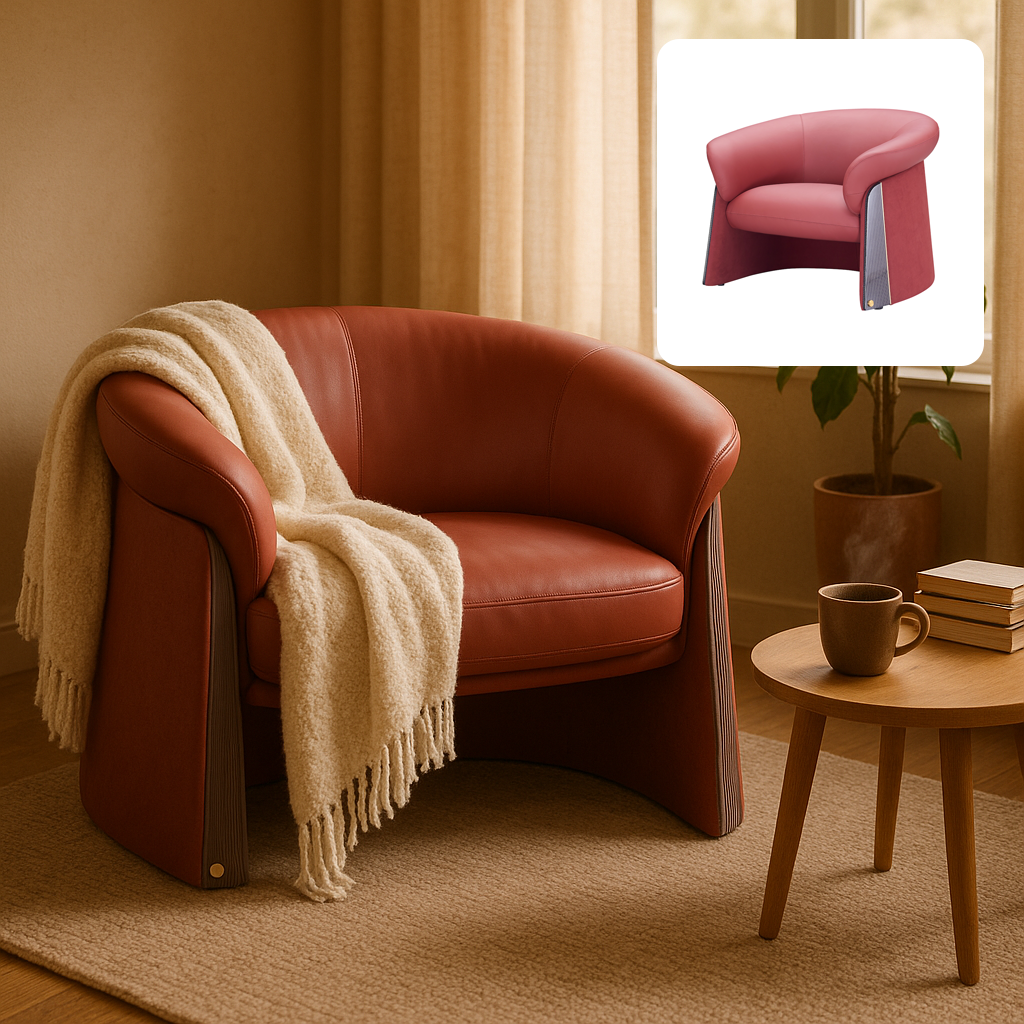
Creating Spotlight Images
Spotlight images use curated templates or custom prompts to produce clean, studio-quality results.
Option 1 — Upload a Reference Image
Upload Your Product
Upload a clean product photo. The product will be automatically cut out and the background removed. For the best results, the photo should only contain your product with no clutter.
Select “Spotlight”
Choose the Spotlight option on Photo Type panel.
Choose a Reference Image
Choose from the curated studio backgrounds or upload your own.
Generate Your Photo
Click Generate Photo to create your Spotlight image.
Option 2 — Use a Prompt
Select “Prompt”
Switch to the Prompt tab under Spotlight.
Describe the Background
Enter a scene description for the environment you want.
Use AI Assist (Optional)
AI Assist can suggest a prompt for best results.
Generate Your Photo
Click Generate Photo to create your Spotlight image.
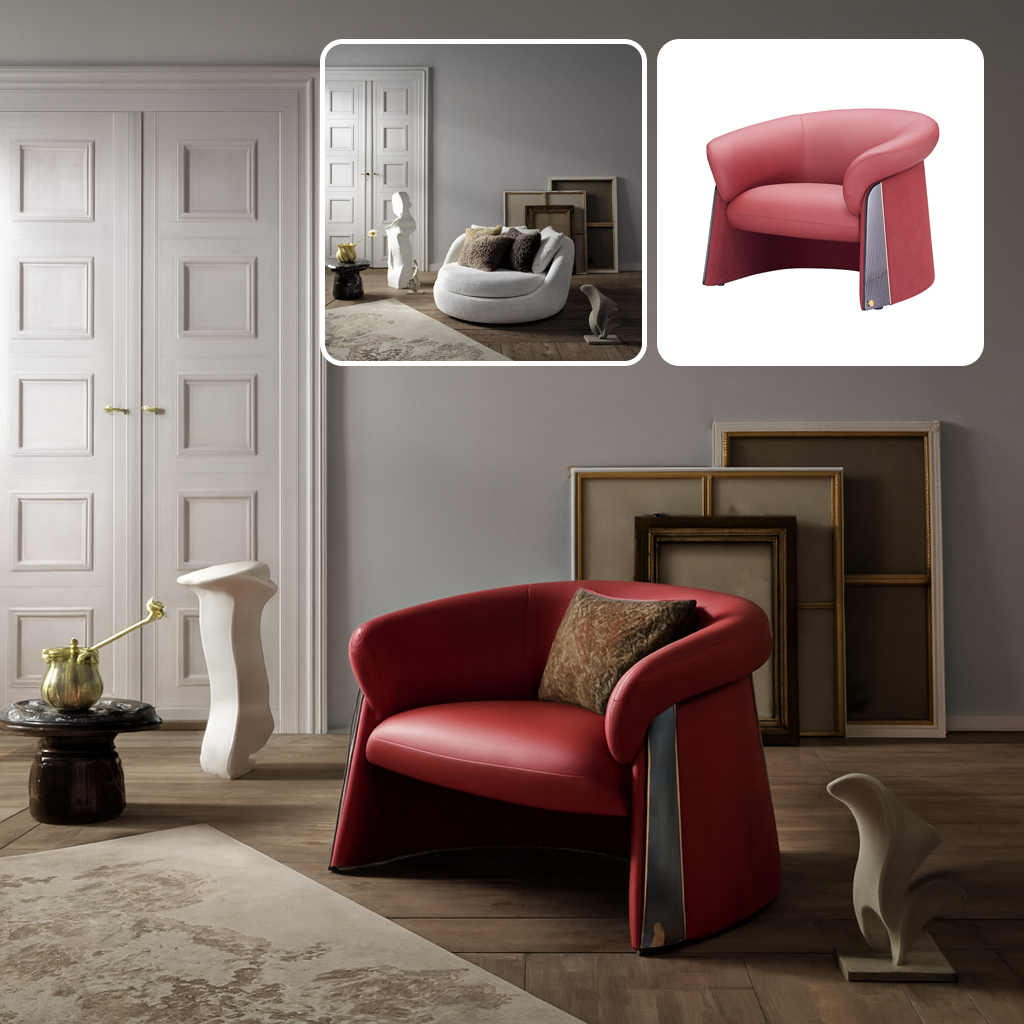
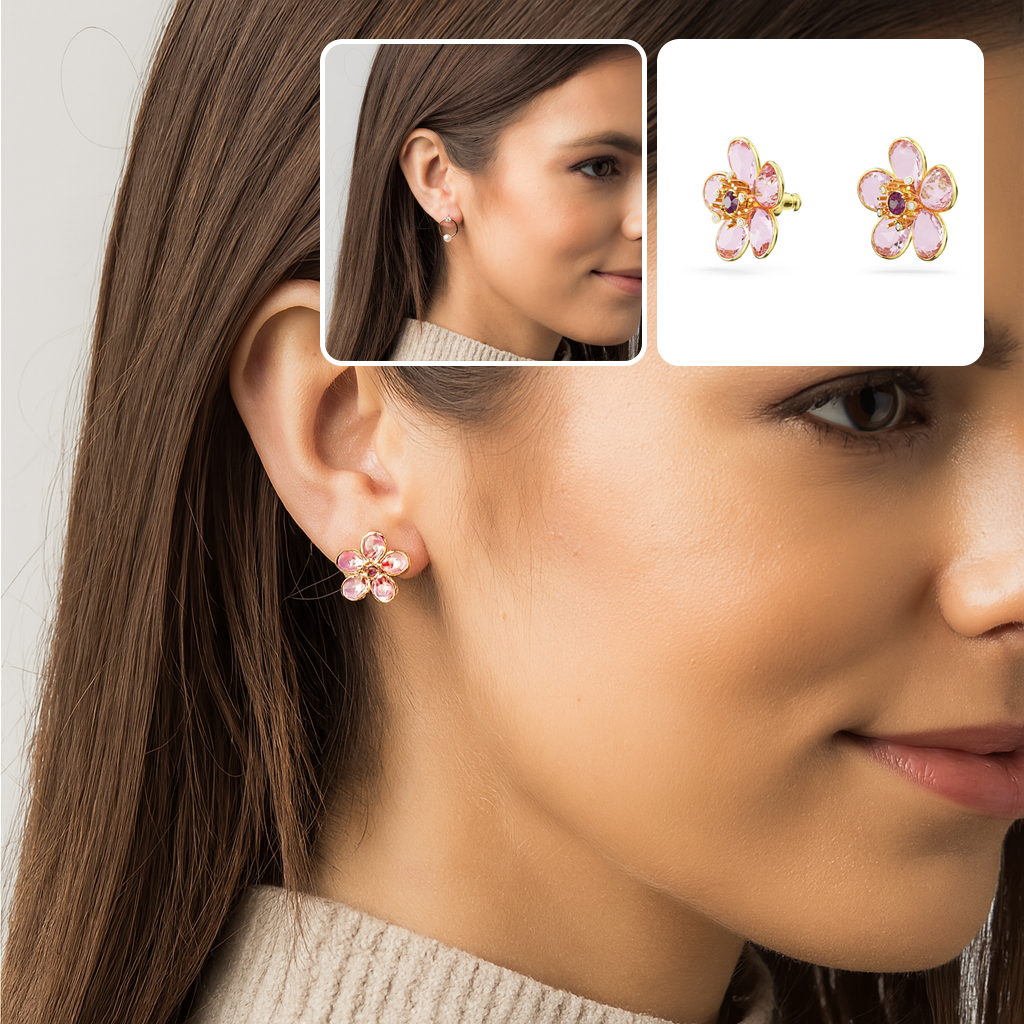
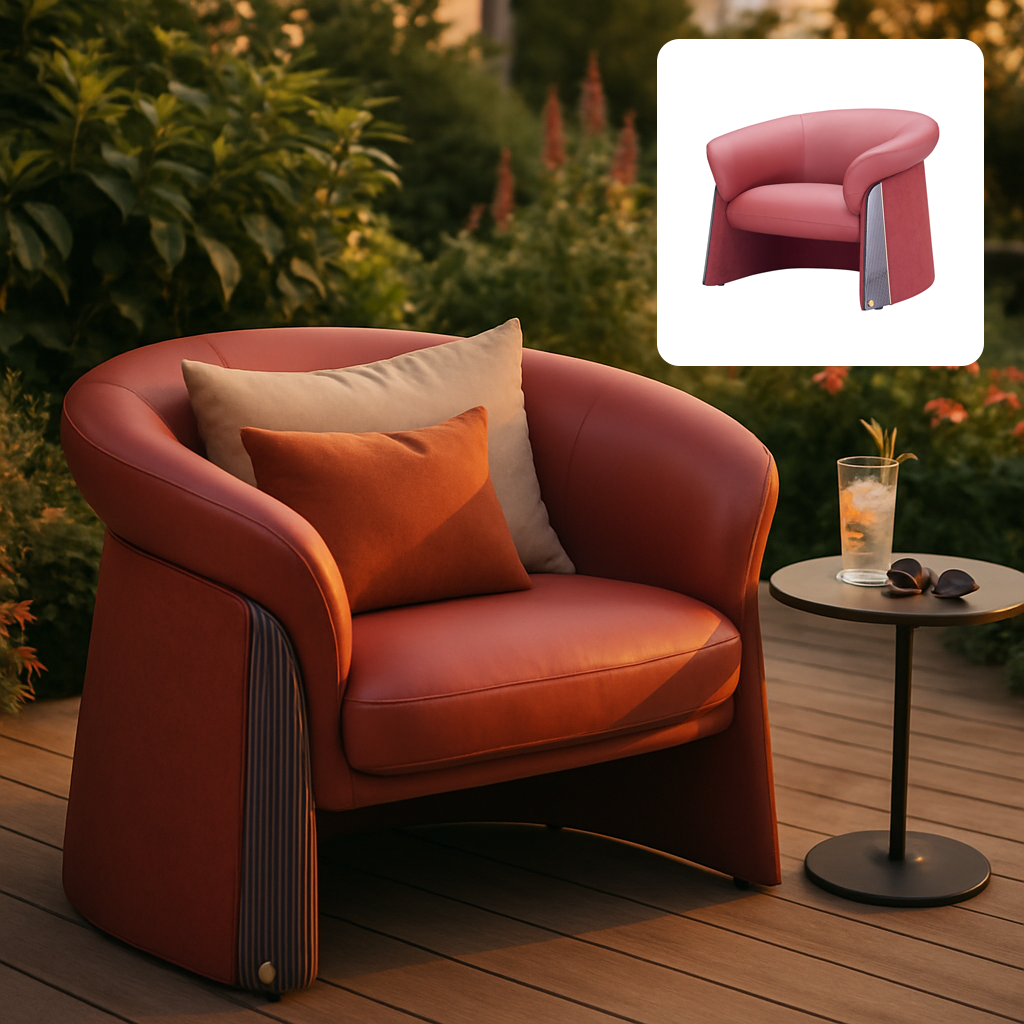
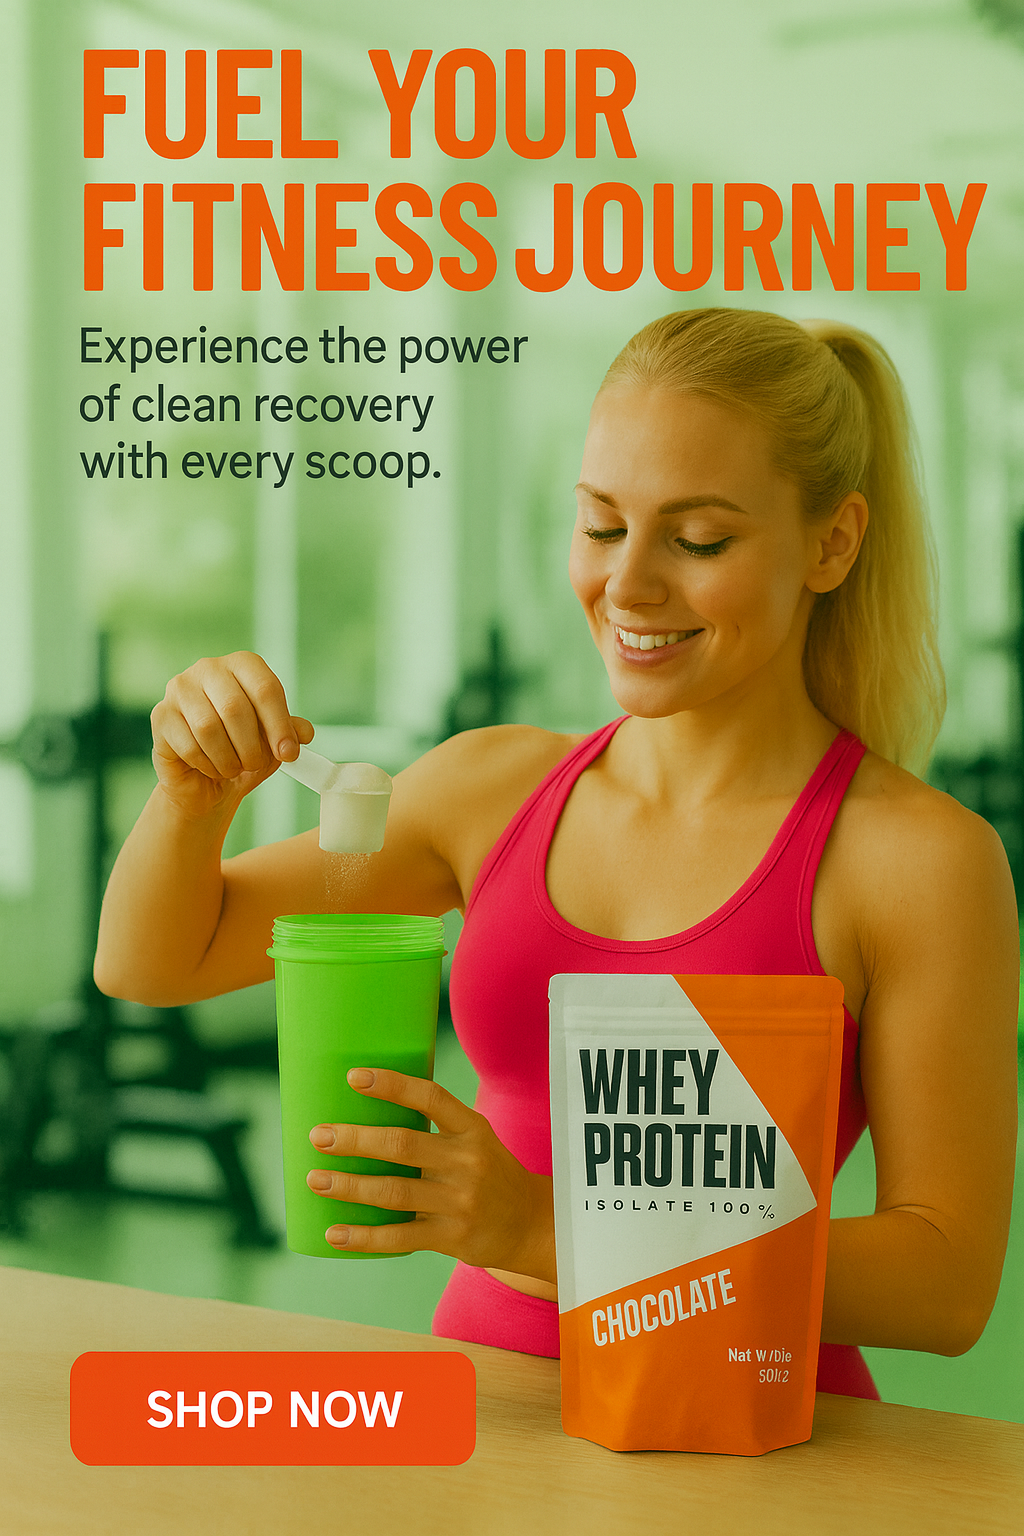
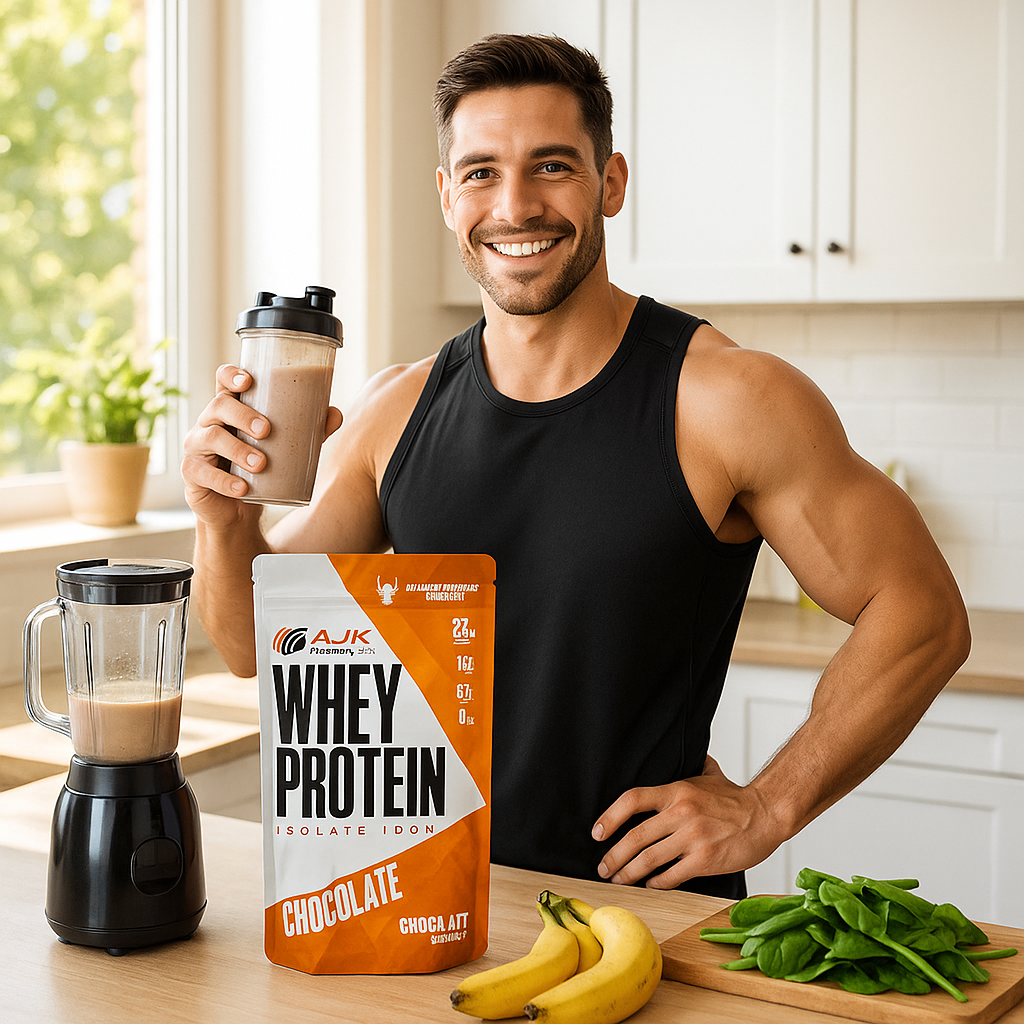
Creating Lifestyle Images
Lifestyle images place your product in natural, real-world scenes for emotional appeal and relatability.
Option 1 — Upload a Reference Image
Upload Your Product
Upload a clean product photo. The product will be automatically cut out and the background removed. For the best results, the photo should only contain your product with no clutter.
Select “Lifestyle”
Choose Lifestyle from the Photo Type options.
Upload a Lifestyle Scene
Provide a reference environment for the AI to recreate.
Generate Your Photo
Click Generate Photo to create your lifestyle scene.
Option 2 — Use a Prompt
Select “Prompt”
Switch to the Prompt tab.
Describe the Scene
Use natural language to describe the environment you want.
Use AI Assist (Optional)
AI Assist can help suggest a prompt for best results.
Generate Your Photo
Click Generate Photo to create your lifestyle image.
Creating Branding Images
Upload Your Product Image
Upload a clean product photo. The product will be automatically cut out and the background removed. For the best results, the photo should only contain your product with no clutter.
Select “Branding”
Choose the Branding on the Photo Type panel.
Upload Your Logo
PNG format recommended for best results.
Describe Logo Placement
Explain the size, location, and how the logo should appear.
Generate Your Photo
Click Generate Photo to produce your branded image.
Ads Studio
Learn how to ads creatives.
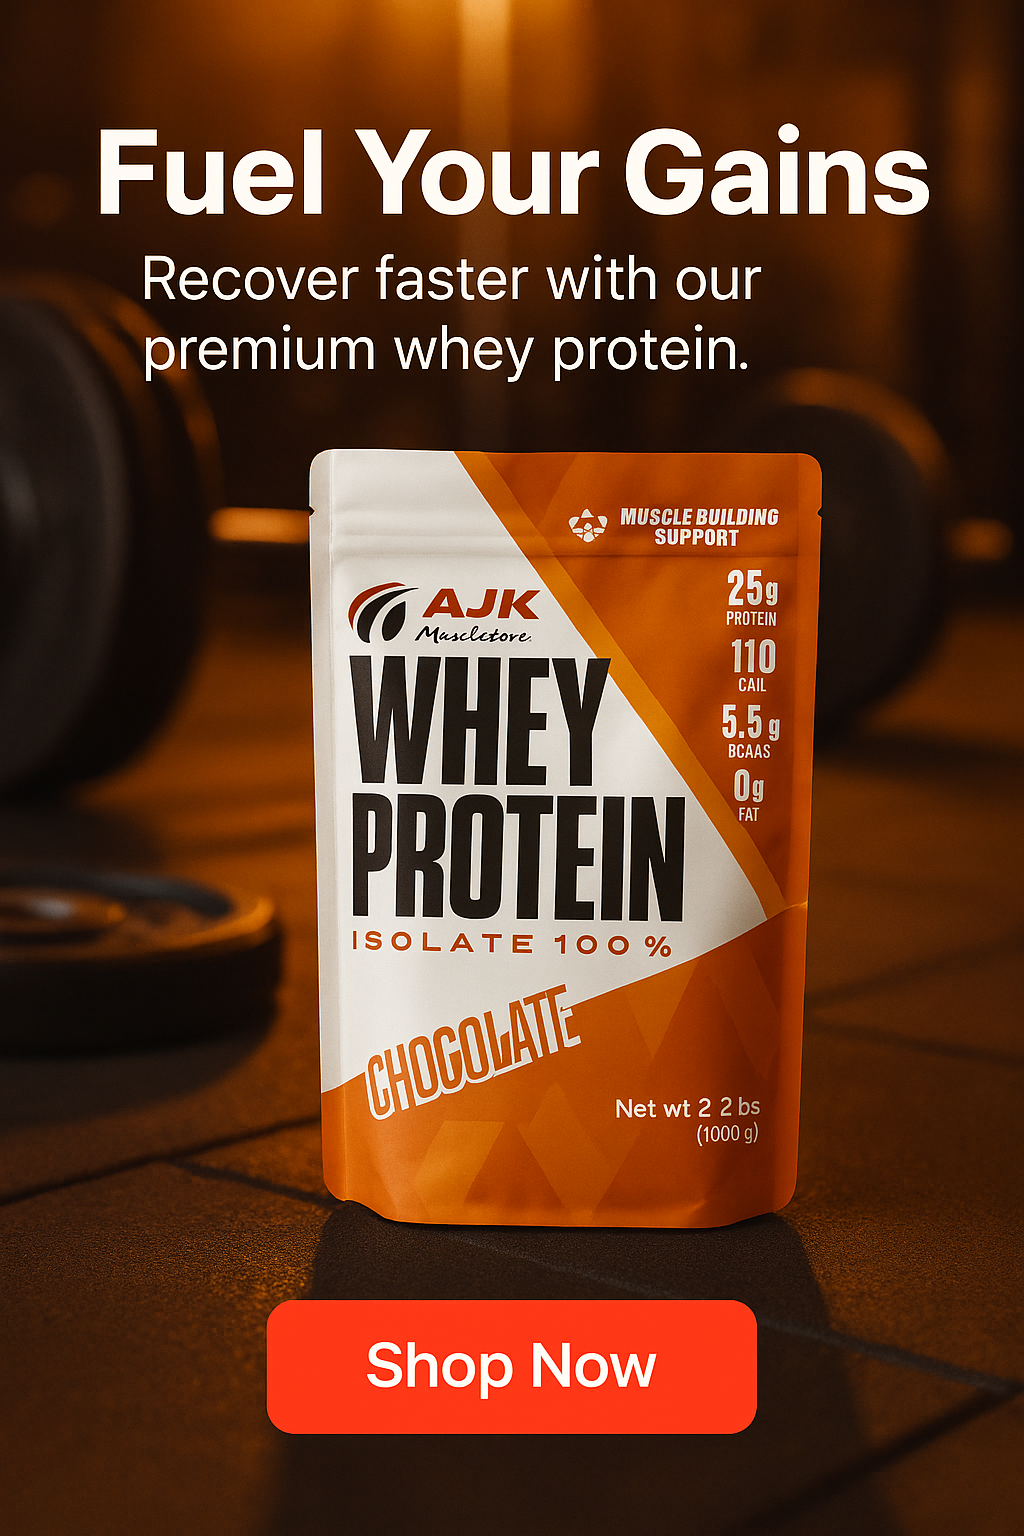
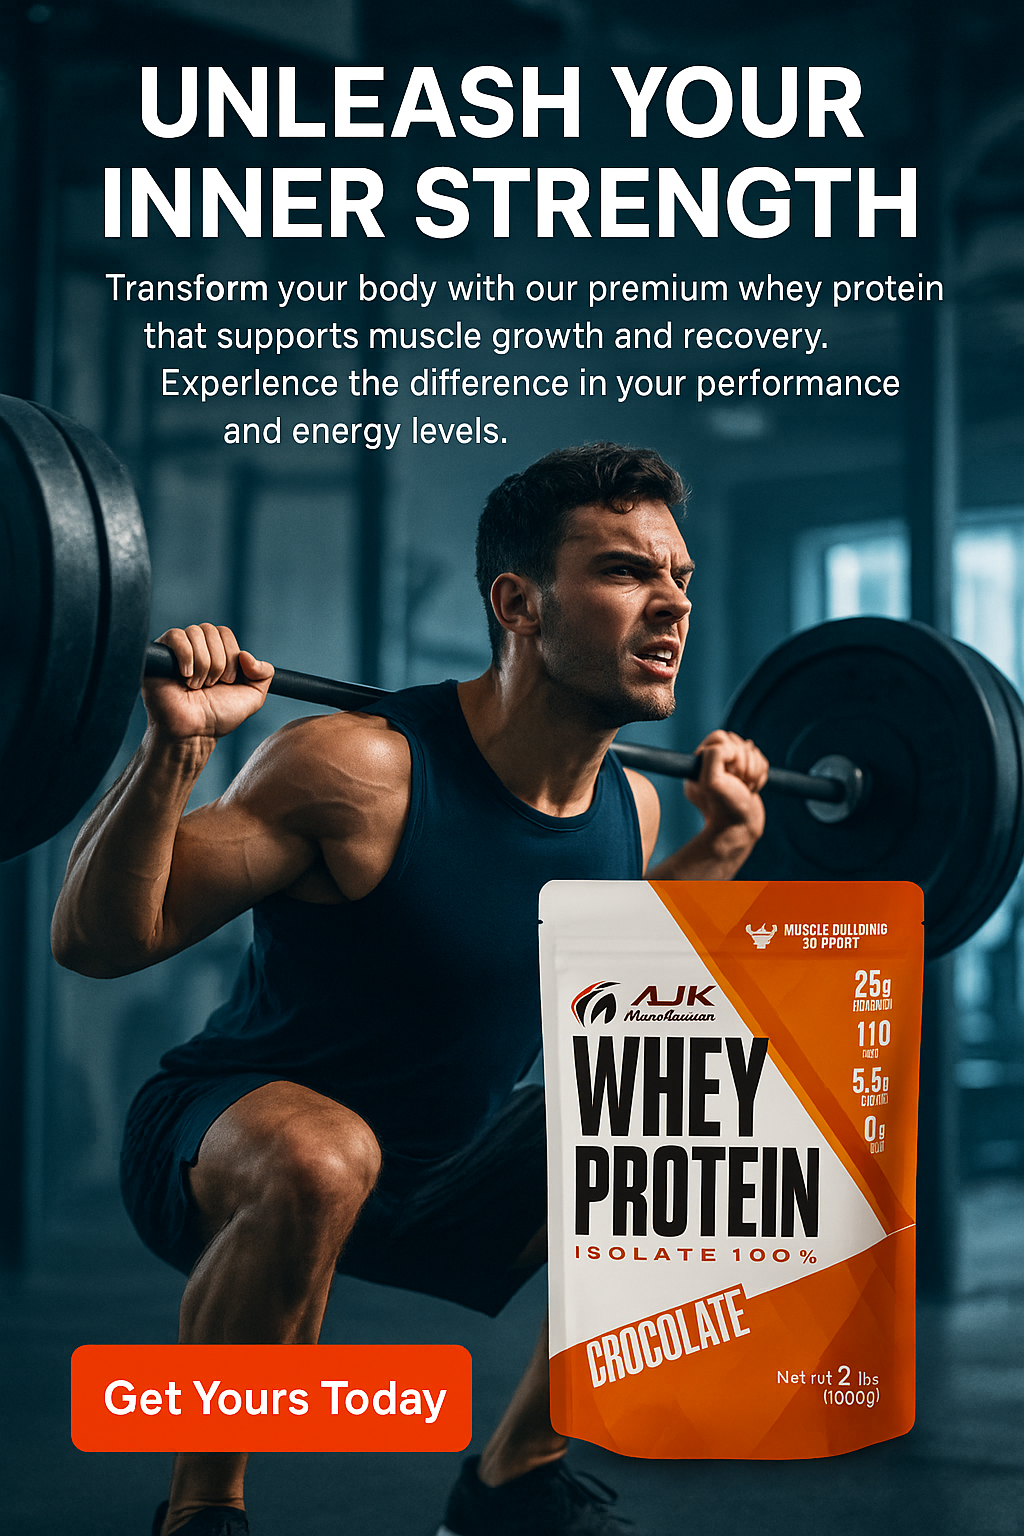
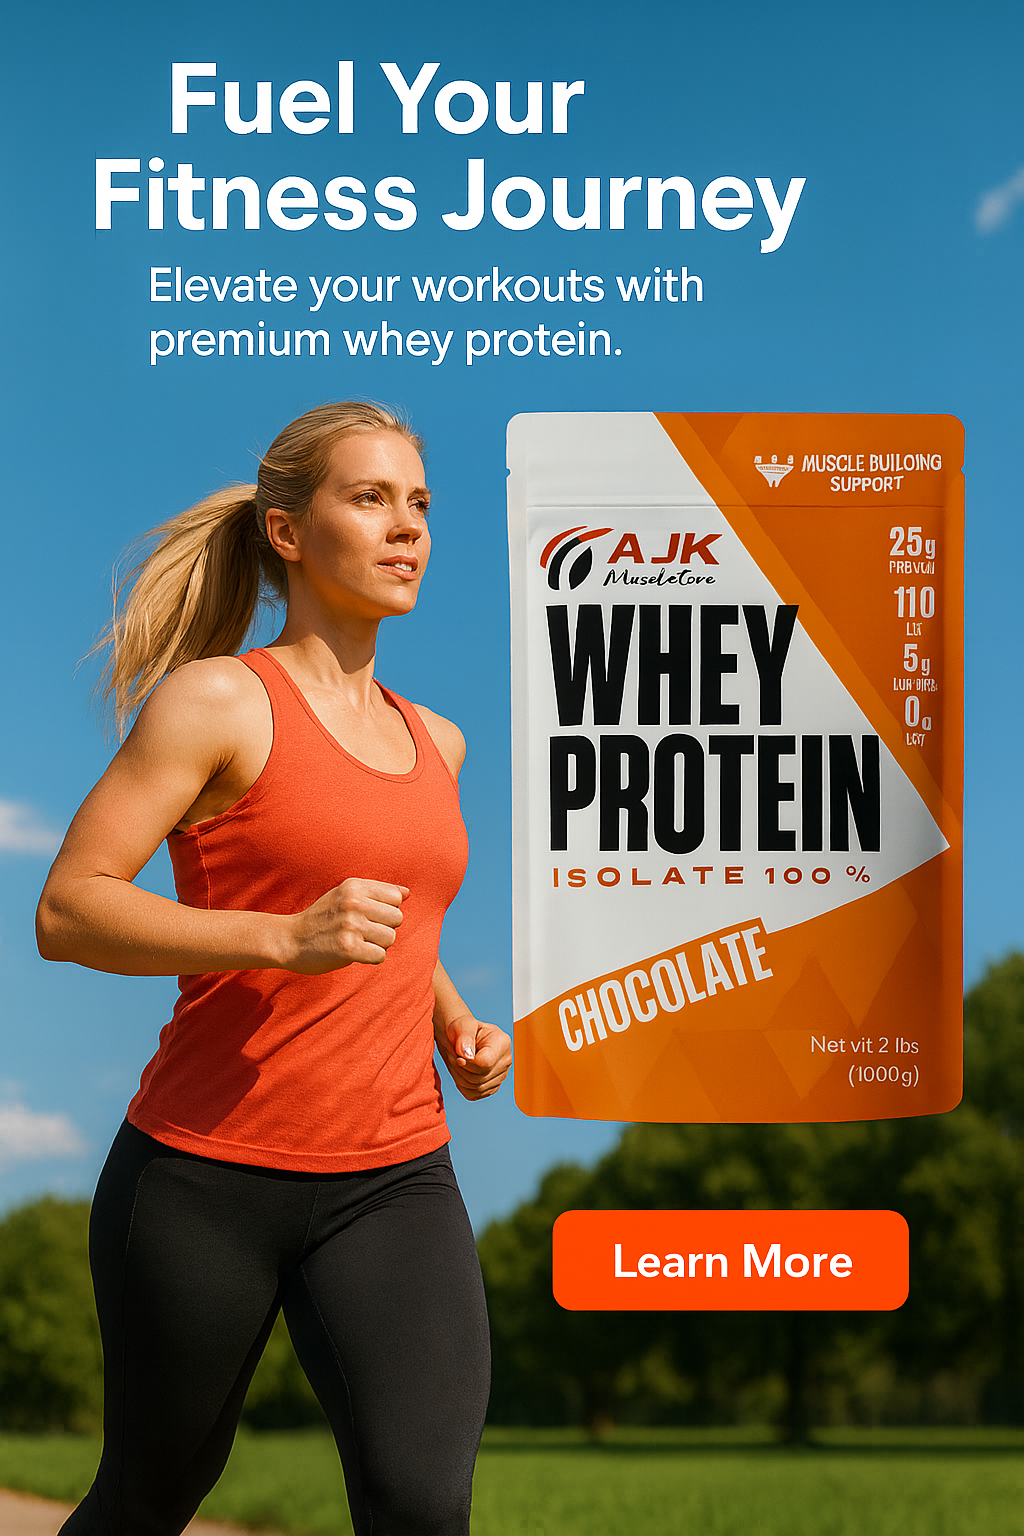
Creating Ad Creatives
Ad creatives combine your product image, copy, scene description, design notes, and brand colors to produce high-quality marketing visuals.
Upload Your Product Image
Upload a clean product photo. The product will be automatically cut out and the background removed. For the best results, the photo should only contain your product with no clutter.
Write Your Ad Copy
Write the headline, body text, and call-to-action. Use AI Assist if needed.
Describe the Composition
Describe the enivornment, lighting, camera angle, props, or mood.
Add Design Notes
Specify typography, ad copy placement, layout, or color theme.
Use AI Assist (Optional)
AI Assist can design the ad creatives, suggest ad copy, placent and composition.
Choose Brand Colors
Select primary, secondary, and accent brand colors.
Choose Image Size
Select portrait, square, or landscape
Generate Your Ad
Click Generate Ad to generate the ad creative.
Video Studio
Create animated product videos using AI motion and scene generation.
Creating Image to Video Animations
Upload Your Product Image
Upload the product photo to animate.
Select “Image to Video”
Choose the Image to Video mode
Choose a Camera Movement
Select Push In, Push Out, Dolly, or Orbit (optional).
Select Aspect Ratio
Choose the video format best suited for your platform.
Choose the Video Length
Choose the duration of the video to generate.
Generate Your Video
Click Generate Video to create your animation.
Creating Product to Video Animations
Upload Your Product Image
Upload the product photo to animate.
Select “Product to Video”
Use this mode to produce a full cinematic environment.
Describe the Scene
Write a prompt describing motion, lighting, and environment.
Use AI Assist (Optional)
AI Assist can suggest a prompt for the best results.
Select Aspect Ratio
Choose the video format best suited for your platform.
Choose the Video Length
Choose the duration of the video to generate.
Generate Your Video
Click Generate Video to create your animation.
Frequently Asked Questions
Contact & Support
- Email us at support@instapics.ai
- Include your account email
- Include examples and screenshots if reporting issues